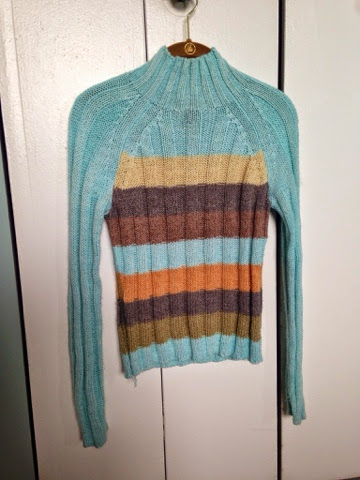
I signed up for a craft show in August to sell my sweater cat beds! I have a decent amount made already, but I also have a bunch of sweaters I acquired at sales over the past couple of months. These are really cute colors and patterns too, so I'd like to try to get most of them done before the show. I finished two today, so I thought I would show some in progress photos with a mini tutorial.
This is the sweater I started off with. It has a mock turtleneck, which is perfect for this project. Turtlenecks or mock turtlenecks are best, but crew neck also can be used.
First thing to do is sew up the neck hole. Flip it inside out and sew with a big needle and piece of yarn. I usually pin these first so I keep it even as I'm stitching.
Once that's finished and tied off, flip the sweater right side out again and pin across the chest of the sweater from arm to arm in an arc shape. Sew through both layers of sweater to create a long pocket connecting the arms.
Then the sleeves need to be connected. Stuff one inside the other and pin closed to prepare for sewing.
This is a relatively inexpensive project if you have basic sewing skills and can find a cute secondhand sweater. I think it looks like a hug for your cat!


No comments:
Post a Comment